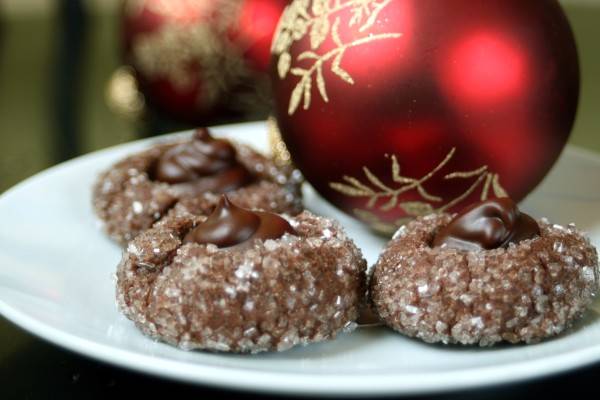
http://tallgrasskitchen.com/chocolate-peppermint-thumbprints
We are well into the holiday baking season over here. Any time between Thanksgiving and January 1 I don’t need any excuses to grab some butter and dust the kitchen floor with flour.
The smell of spicy gingerbread, the silky softness of melted chocolate, the pleasant bite of peppermint–it’s all wonderful and the season gives us an excuse to go a little over the top. Luckily, the season also provides a way to unload all of the extra calories on neighbors and friends in the name of Noel.
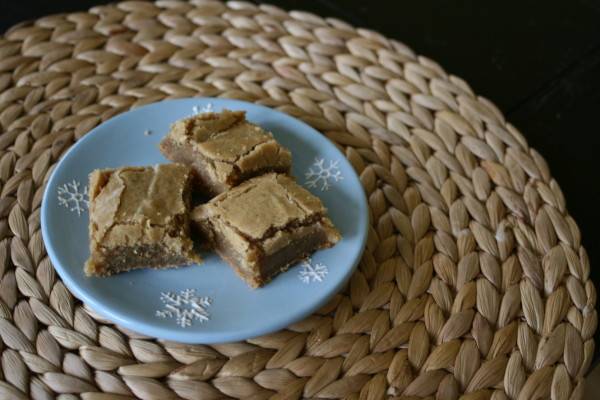
http://tallgrasskitchen.com/naughty-bars
Here are 10 tips for those embarking on a baking extravaganza for the holidays:
- Let’s talk butter: It’s delicious, use it. So many recipes begin with “softened” butter. But if your butter is too soft, it won’t cream properly and there’s a chance your cookies might melt into a puddle as they bake. I take butter from the fridge right when I’m starting to make the cookie. I slice it thinly and put it in the bowl, then I spend a few minutes gathering my ingredients and putting my dry ingredients together. By the time I’m ready to cream my butter and sugar, it’s soft enough.
- Cream it: unfortunately for those who don’t have a stand mixer, this step is a little trickier. When a recipe asks you to cream butter and sugar together, really go to town. Like for 5+ minutes. The results should be very light and fluffy, almost like frosting.
- Chill out: drop cookies with eggs benefit from an overnight stay in the fridge. It allows the liquid eggs to fully hydrate the dry ingredients. I don’t know the science behind why, but this results in a prettier, more complex-flavored cookie. If I bake my chocolate chip cookies right away, they are pale and taste just fine. If I wait 24-72 hours, they bake up golden with hints of toffee and caramel.
- Cookies are finished baking before you think they are–if you can smell them, they were probably done two minutes ago. The tops should appear barely cooked (but not shiny and raw), and the bottoms and edges should be just turning golden-brown.
- Ditch the dough in a tube–it really only takes a few more minutes to mix up your own. Your neighbors will thank you.
- If you’re putting together a cookie platter, add some color. It can be in a traditional manner, with a brightly-iced sugar cookie. Or a cookie studded with fresh cranberries or something made with jam can add a pretty ribbon of scarlet (like these jam straws.)
- Add texture and shape to your platter with chunky bar cookies, a nut-studded dessert or dense and delicious shortbread fingers.
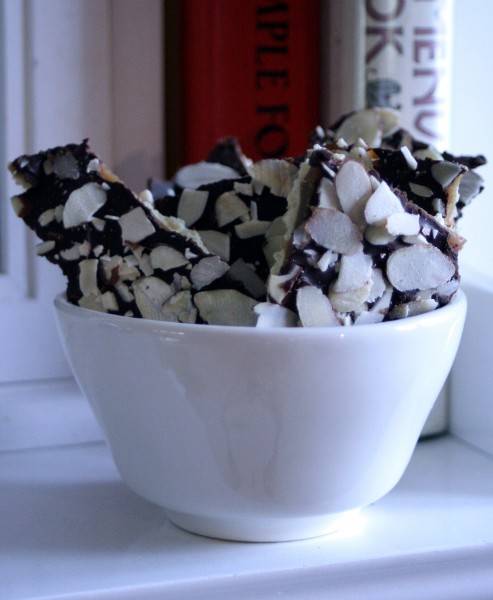
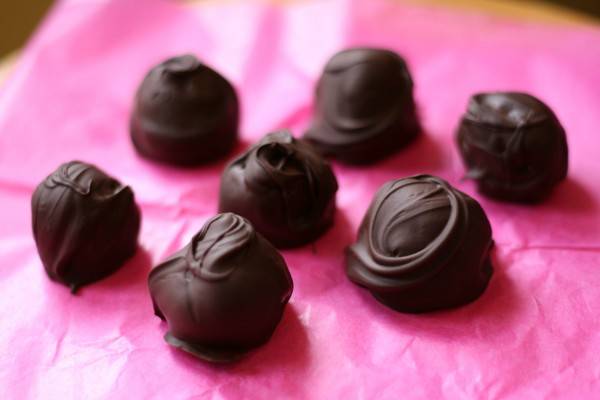
- Add something that’s not a cookie to your platter: plump truffles (see link below), shards of toffee, squares of fudge or even a cup of rosemary-scented mixed nuts break up the visual field and add a taste contrast.
- Wrap it up: it doesn’t have to be fancy, but a little presentation goes a long way. I love to use these brown paper loaf pans or cake pans, then wrap everything in a bundle of cellophane and tie off with red and white baker’s twine. A pretty paper plate and cellophane works too.
- Label it: people aren’t as adventurous as you or me. Sometimes if they don’t know what’s in something, they won’t even try it! Can you believe it? Include a label that lists the cookies included in the package and maybe even a few primary ingredients/flavors. If there are any hidden nuts, it’s a good idea to mention them in case someone has allergies.
- Bonus tip: if you don’t already have a stand mixer, and you’ve been a very good little girl or boy this year, ask for one! Nothing can cream butter and sugar like a stand mixer.
http://tallgrasskitchen.com/butterscotch-cookies-with-browned-butter-frosting-treat-number-six
Lastly, I recently had the pleasure of helping judge this year’s Milwaukee Journal Sentinel’s holiday cookie contest. To see all of this year’s winners and runners-up, see here.
To purchase an e-book of all the past contest winners, plus some bonus recipes, click here.

Comments 1